 Setting Up Server Computer
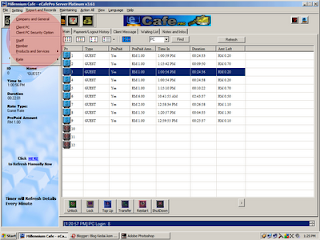
We are going to setup server computer. So, when you finished download the software that i've mention earlier, it's time now to install it. You must extract the file you download using whatever zip file software like Winzip or Winrar or iZarc. And then click setup to install Ecafepro server software. After finish install it, click Ecafepro shortcut to run the program.
Ok, now i will explain to you about the "setting" tab.
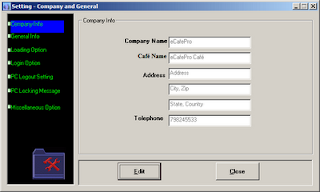
Under "company & general" tab, you will put your company address, phone numbers and not to forget, your company's name.
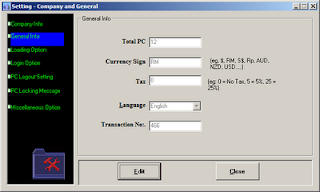
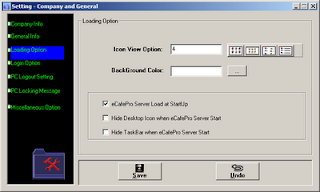
Now click at "ecafepro loading at startup" so whenever you start your server computer, the ecafepro program will loading at startup. We skip for "login option" and go straight to "pc logout setting".
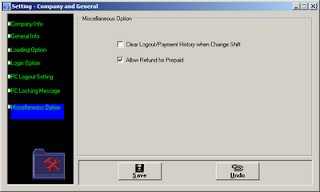
The most important setting here is "after login, the client pc will restart". Which means after customer finish using the computer or finish their prepaid, the computer will automaticly shutdonw and restart by it self. Neat huh!!! :).